STILLWATER / FIELD GUIDE
HUSH Quiet Loot Run Loadout Guide
Last updated:
A quiet loot run starts with equipment you can afford to lose, room for what you find, and supplies for getting out. Build around the gear you already own, then choose upgrades that solve a specific problem.
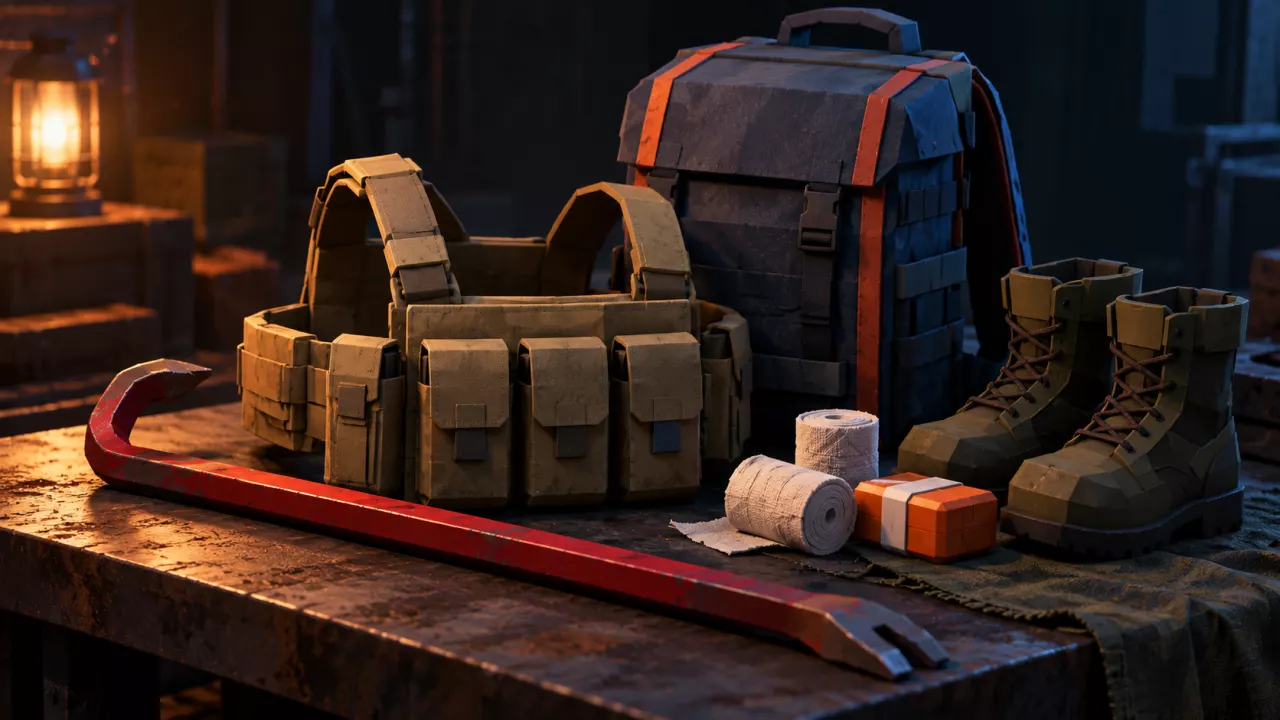
Bring a melee option you already own and can afford to lose, such as Crowbar, Bandages for bleeding, and Pills for health recovery. Favor Duffel Bag for budget storage and Rifleman Rig for capacity. Equip Jungle Combat Boots if you own them for their -25% footstep noise modifier. Pack a Flare for Hospital Helipad or prepare 2,000 Cash for Smuggler's Boat; Highway Roadblock is marked Always open.
A Practical Quiet Loot-Run Setup
Start with equipment you already have and are willing to risk. Death costs you the gear and loot you carry outside your secure container, so an expensive upgrade should earn its place in the run.
- Melee option: Bring Crowbar if you own it and can afford to lose it. Equip it in Melee; press 3 to draw it.
- Medical supplies: Pack both Bandage and Pills. Bandage stops bleeding; Pills restore health. If you are bleeding, stop it first, then use Pills as needed through the item's right-click Use action.
- Storage: Use an available backpack and rig, leaving room for loot. Choose replacements using the capacity and cost tradeoffs below.
- Quieter footwear: Equip Jungle Combat Boots if available. Their Footstep noise -25% property directly supports a stealth loadout.
Support the equipment with quiet movement: crouch with C or Control, watch the lower-left noise indicator, and sneak past infected where possible. Close doors behind you when moving away from danger. For medical supply locations and treatment details, see the healing guide.
Choose Storage for Your Budget and Loot
Backpack: favor Duffel for a budget run
Duffel Bag is the practical budget pick: its 6×3 grid provides 18 cells, with a Scrapper shelf price of 3,795 Cash. Hiking Backpack provides 20 cells in a 4×5 grid at 8,100 Cash. Choose Hiking when its taller layout or two extra cells suit the items you want to carry; otherwise, Duffel keeps replacement spending lower.
Check the current offer before buying. These prices apply to the listed Scrapper GEAR offers, and purchasing also depends on stock and unlock conditions. Browse backpack sizes and offers for the full selection or use the Scrapper buying guide to plan purchases.
Rig: favor Rifleman for loot space
- Rifleman Rig: Choose it when storage is the priority. It provides 12 cells in a 4×3 grid and weighs 2.4 kg.
- Scrap Vest: Choose it when six cells in a 3×2 grid are enough and you prefer its lower 1.4 kg item weight.
- Courier Rig: It weighs 0.9 kg, and its description lists six small pockets.
For a run centered on bringing home loot, prioritize useful empty space over a lighter rig that is already full before departure. Keep grid shape in mind: room in separate storage areas does not combine into one continuous space.
Balance Protection and Item Weight
Choose Riot Leg Guards for stronger listed leg protection; choose Canvas Work Pants for lower item weight. The guards offer 60% leg bite block and 35% leg protection at 2.0 kg. The pants offer 30% leg bite block and 15% leg protection at 0.9 kg.
Both use Legs. Jungle Combat Boots use the separate Boots slot, so you can wear the boots with either choice. After replacing your leg armor, account for the displaced item so it does not unexpectedly occupy the loot space you planned to keep free. See armor and rig stats for the full equipment reference.
Your weapon choice also has a cost beyond its replacement price. Gunshots attract infected, while Crowbar requires close contact and can still leave you injured or bleeding. For a quiet run, favor avoiding encounters and use melee when you choose to fight without gunfire. Carry a firearm if you are willing to accept its loss and the attention that firing it brings. Use the weapons and ammo guide to check equipment roles and switching controls.
Pack for the Exit You Intend to Use
Choose an exit plan before filling your storage with optional equipment.
- Hospital Helipad: Bring a Flare for the southeast Hospital. The exit requires lighting a flare on the pad; put it in a quick slot so you can find it when needed.
- Smuggler's Boat: Prepare to meet the 2,000 Cash payment requirement at the eastern river.
- Highway Roadblock: The Route 9 exit in the west is marked Always open. Consider it when you are not preparing a Flare or the boat payment.
Once inside, press M and check Marked Exits against your position and supplies. Choose a destination you can reach before the raid clock expires. The extraction guide covers locations and map navigation.
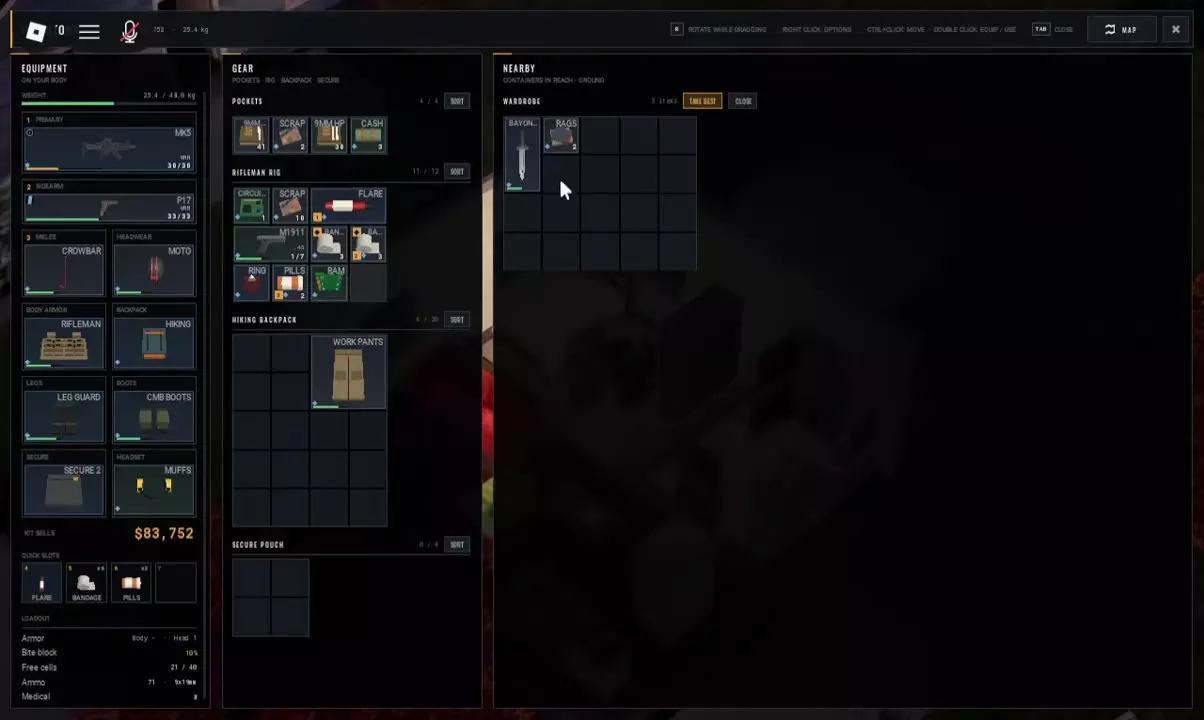
Before deploying, check that your medical supplies and exit equipment still leave useful loot space. Review your Secure Pouch too: items kept inside the secure container come home even if you die. Use that protected space deliberately for items that fit.
Check the Loadout Before Deploying
- Confirm your equipment slots. Check your intended weapons, Body Armor, Backpack, Legs and Boots. Make sure gear you intend to wear is equipped rather than merely stored.
- Inspect each carrying area. Check Pockets, Rig, Backpack and Secure Pouch separately. Leave continuous space for the shapes you intend to collect.
- Account for rig-swap leftovers. When changing to a smaller rig, items that do not fit can remain in the old one. Check the swap message and the old rig before leaving it behind. The inventory guide explains how to recover its contents.
- Recheck quick slots after swapping gear. Their order can change. Confirm where your Bandage, Pills and any Flare ended up.
- Choose a difficulty suited to the run. Start with Normal while learning routes and testing your packing choices. Hard adds more infected that move faster, so raise the difficulty once you are comfortable reaching your exit with the supplies you carry. See raid settings for deployment options.