
STILLWATER / FIELD GUIDE
HUSH The Witness: Nightmare Encounter Guide
Last updated:
The Witness can pursue you through Overture Plaza while Subject and Deposition warnings demand different responses. For a Nightmare encounter with Night and Fog, clear room to move before committing to the fight.
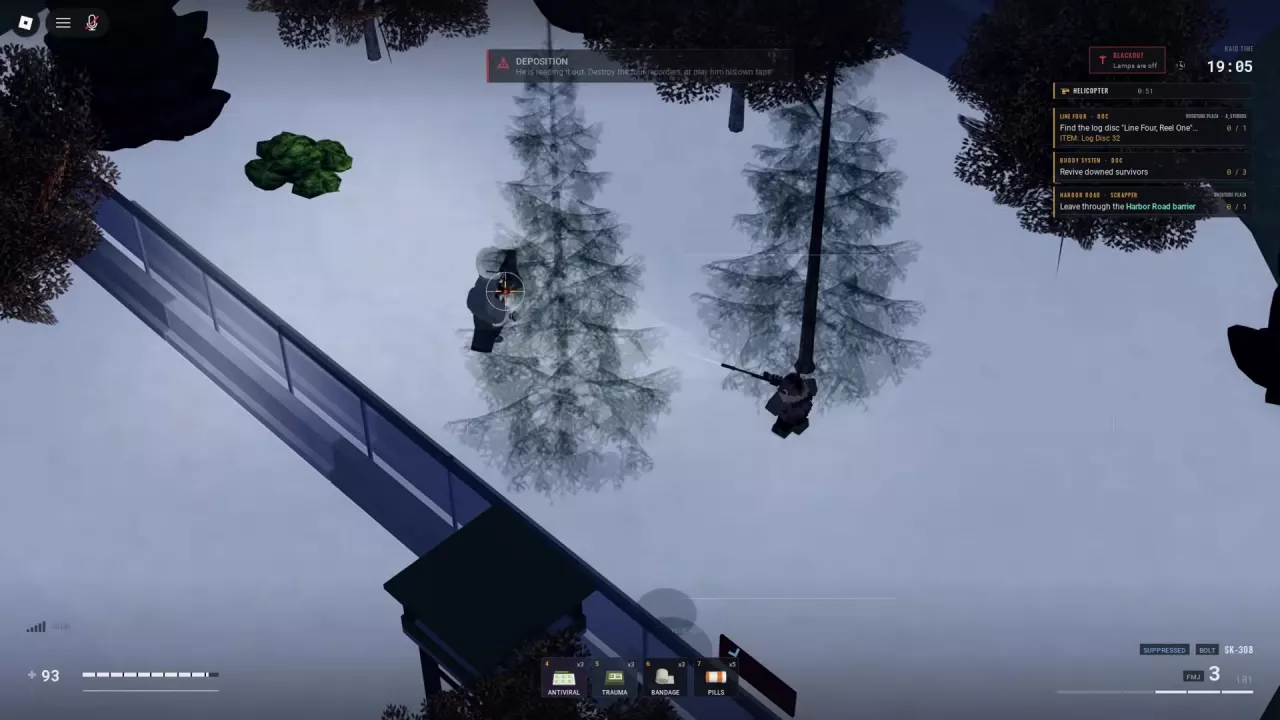
Clear nearby infected, lure The Witness toward the northern perimeter woods, and aim at his torso. Keep a retreat route open while firing and reloading. When designated the Subject, run while your squad draws the pursuer away. During Deposition, the prompt directs you to destroy four recorders or play The Witness his own tape. After the kill, approach his body and press F at SEARCH.
Recognize the Witness and Prepare Space
Look for a humanoid boss with a pale head and a long dark coat. This strategy applies to an Overture Plaza encounter on Nightmare with Night and Fog.
- Reduce the nearby infected around the building before drawing The Witness into the fight. This leaves fewer enemies competing for your movement space.
- Lure him toward the northern map edge, into the wooded area beside the perimeter wall.
- Keep a route open along the perimeter so you can retreat as he closes in. Avoid backing into a corner between the wall and trees.
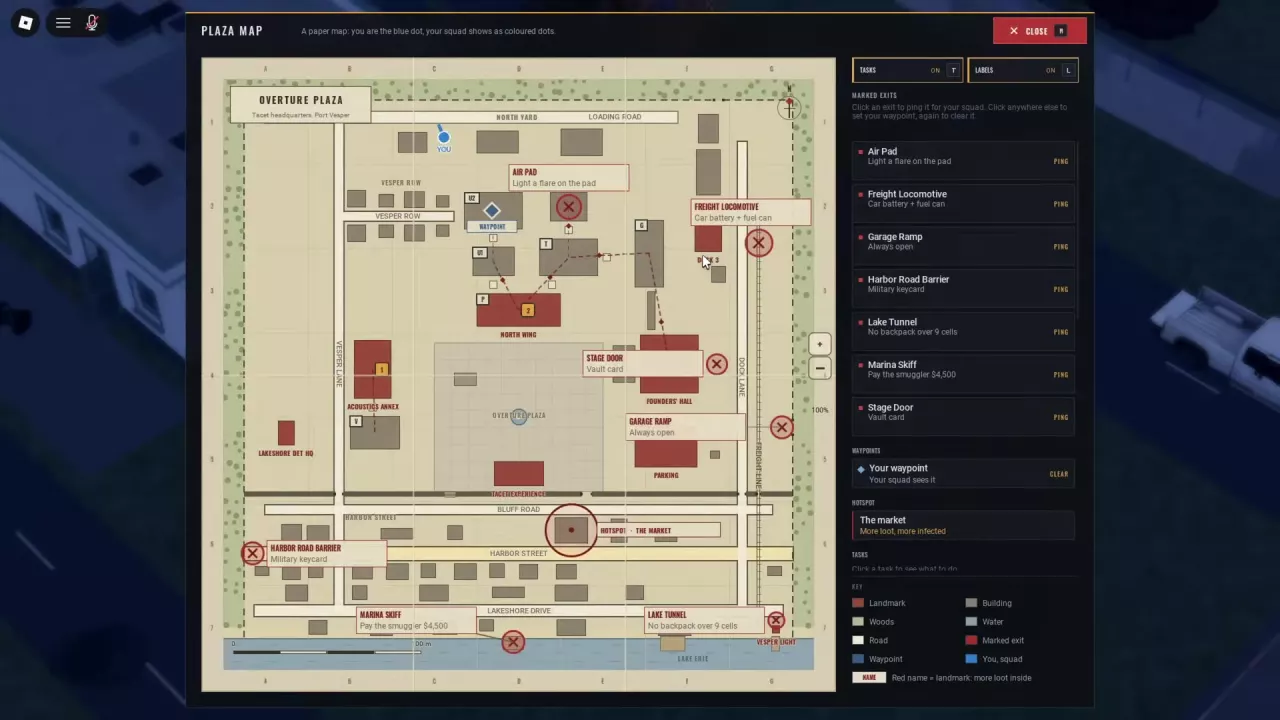
Use North Yard to orient yourself toward the northern edge. The Overture Plaza map guide covers the surrounding landmarks and navigation.
Aim at the Torso and Keep a Route Open
The torso is The Witness's weak point in this Nightmare, Night, Fog encounter. Center your aim on his body and keep firing, reloading as needed.
A suppressed SK-308 Scout Rifle loaded with FMJ is one successful setup for this fight. Treat it as a loadout option rather than an equipment requirement. For weapon slots and ammunition sources, see the weapons and ammo guide.
The Witness can close the distance while pursuing you. Use the space you cleared to pull back between shots and before reloading, then resume torso fire when you have room. Preserve that movement route instead of holding your position until he reaches you.
React to Subject and Deposition
When you become the Subject
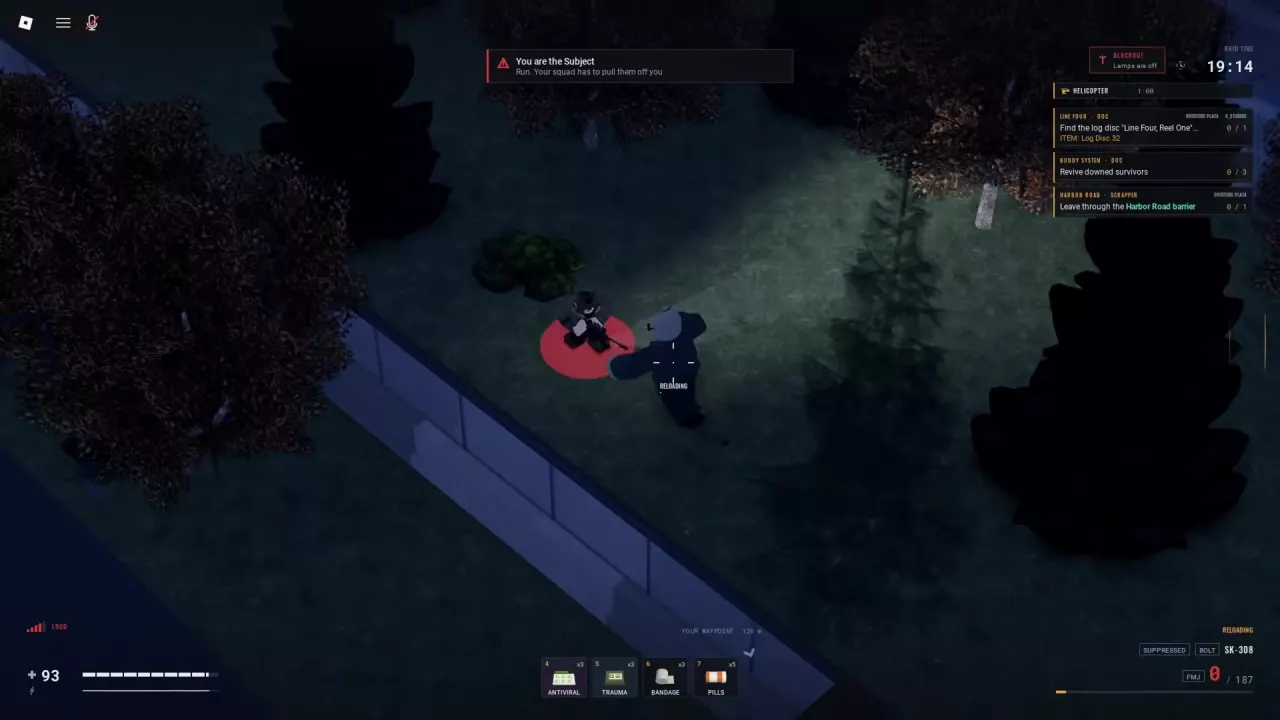
When “You are the Subject” appears, run and keep moving along your open route. A red circle beneath your character accompanies the warning.
Squadmates should lure the pursuer away from the designated player. Call out who has the warning so the group can respond together; use the co-op guide for squad setup and shared waypoints.
When Deposition begins
When DEPOSITION displays “He is reading it out!”, the prompt gives two responses:
- Destroy the four recorders.
- Play The Witness his own tape.
Use the recorder or tape response when you can act on it, while keeping room to move as The Witness approaches.
Search the Remains and Leave
- After The Witness falls, approach his body until The Witness — F SEARCH appears.
- Press F to search the remains.
- Check your remaining ammunition, healing supplies, and raid time, then choose an exit you can use.
Garage Ramp is always open, making it an option when you lack supplies for a gated exit. Harbor Road Barrier requires a Military keycard. Compare the other Plaza exit requirements if your carried equipment supports a different route.
Click your chosen exit on Plaza Map to share the destination with your squad. If the fight has depleted your supplies, prioritize leaving over extending the loot run.